
Version 22.1.0 - User Manual - Supplier Onboarding
Table of contents
User Manual - Supplier Onboarding
Supplier Onboarding
Supplier portal onboarding allows supplier creation from portal itself. New supplier account is created using the invite sent by admin to his email account.
Supplier Invite
To onboard a new supplier, admin user will send invite to supplier using his email id. Invite list can be viewed in admin portal.
Navigate to LeanSwift->Supplier Portal->Supplier Invite.
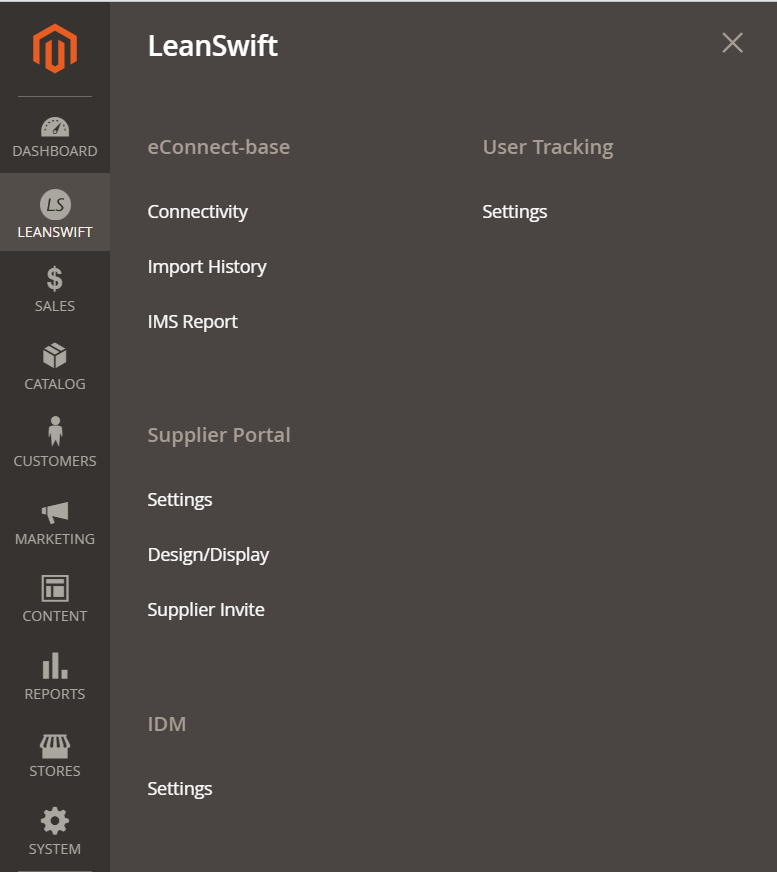

Click Add New Supplier Invite and supplier Invite form will be displayed.
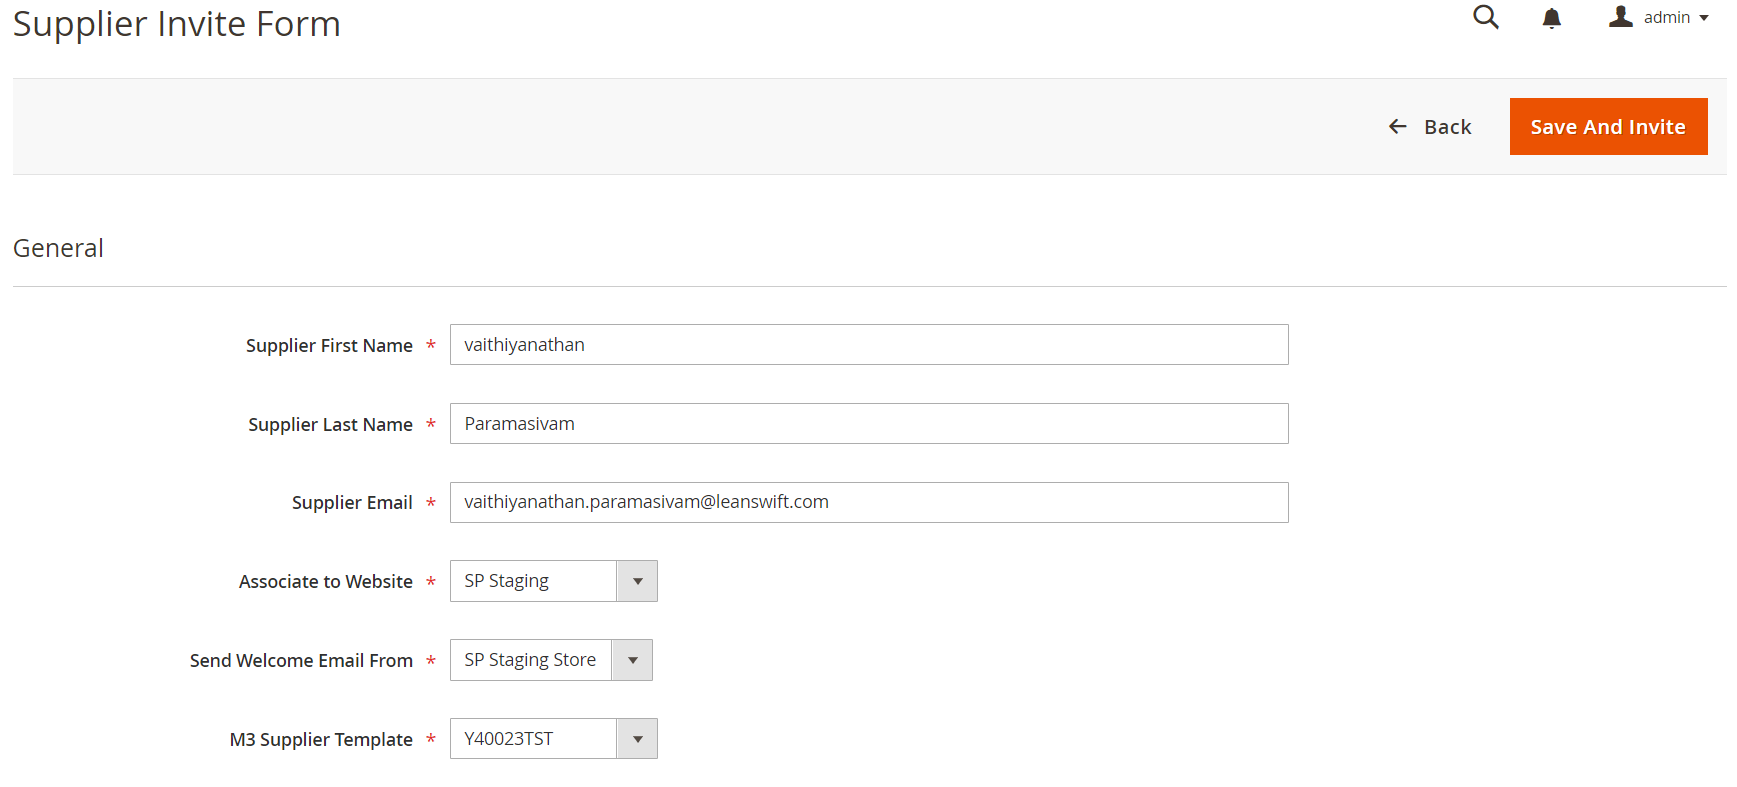
Enter new Supplier First Name, Supplier Last Name and Supplier Email. Select Associate to Website and Send Welcome Email from the listed drop-down values. M3 Supplier Template lists the existing supplier template from M3 based on which new supplier is created. Drop-down values can be configured in supplier onboarding under Supplier settings.
Click Save and Invite. Invite is sent to the supplier email and supplier list is created with status Invitation sent successfully.

Supplier Invite list can be searched using different filters. When portal fails to send invite mail to customer then status changes to Invitation sent failed.
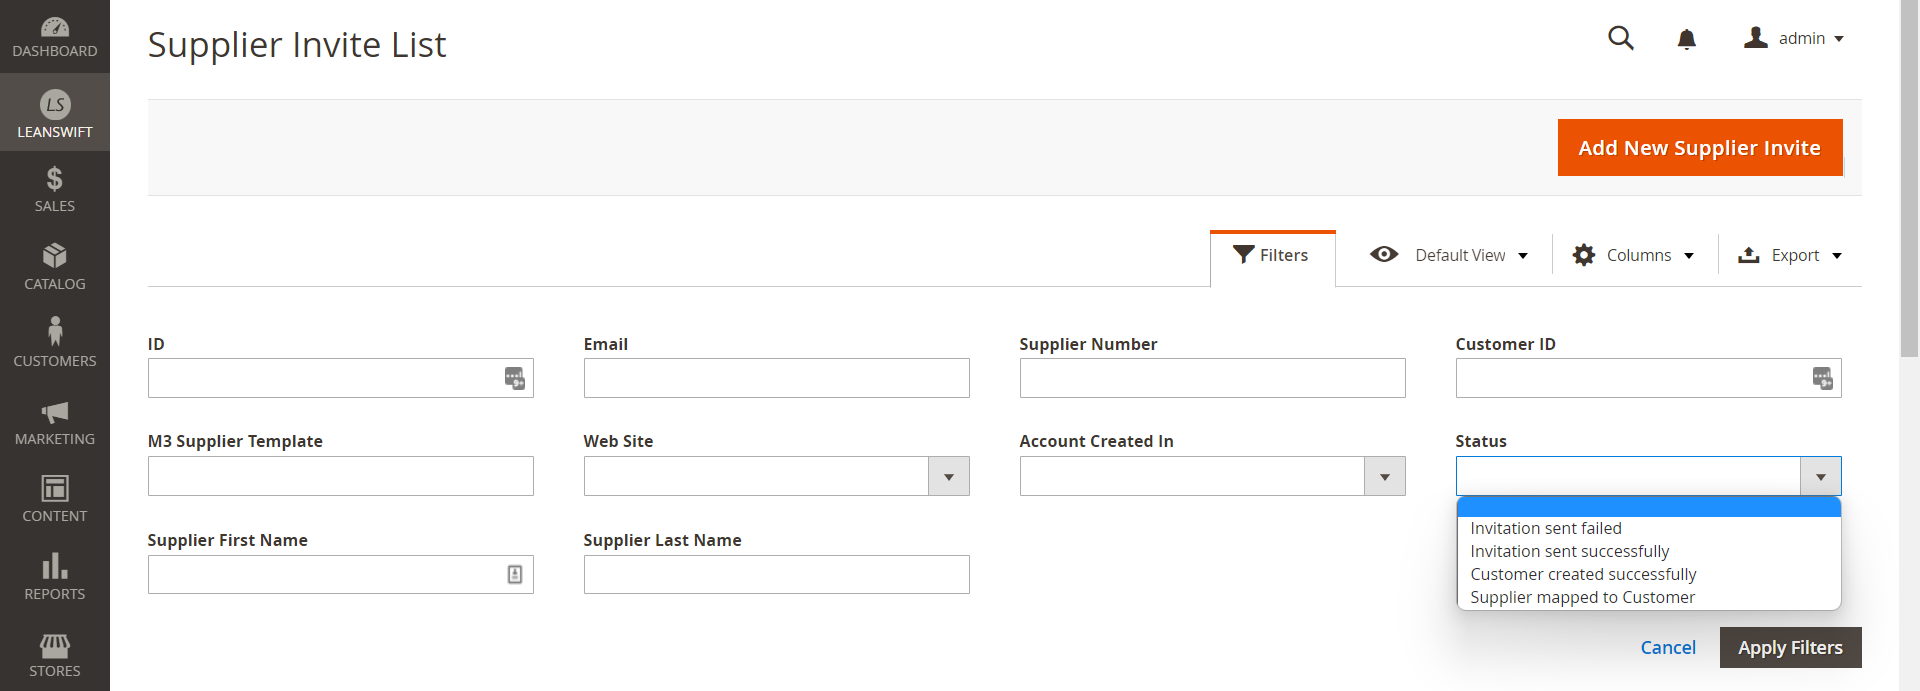
Supplier Account Creation
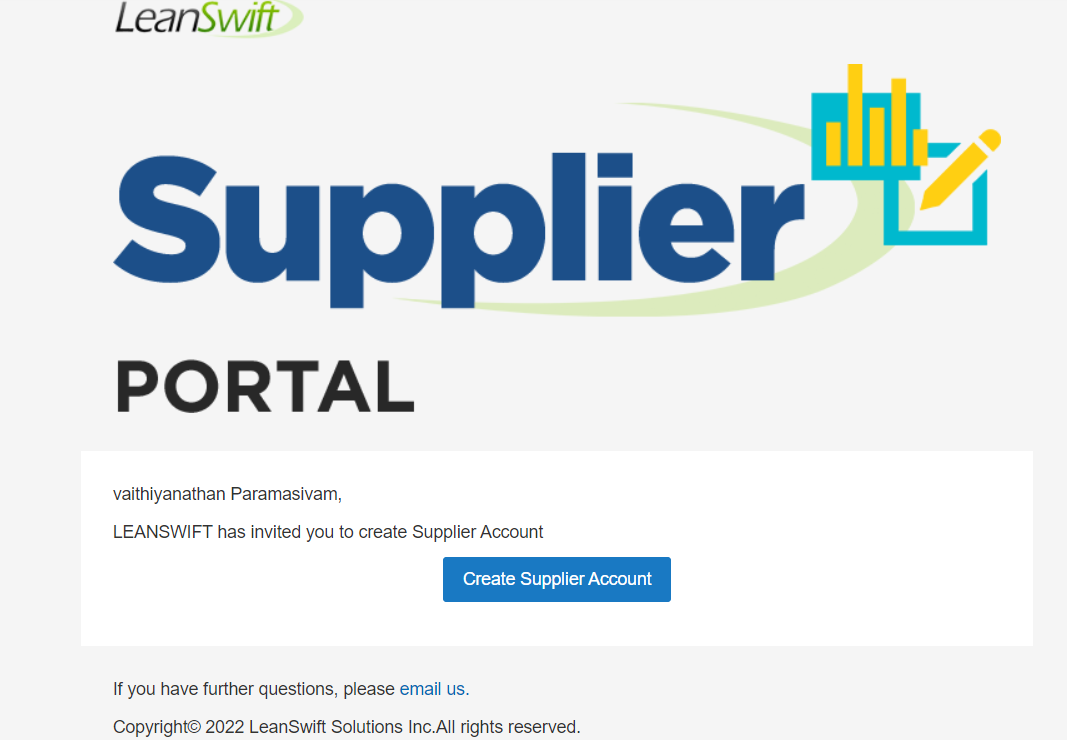
Supplier will receive invite mail as below to create account and open the create supplier account link.
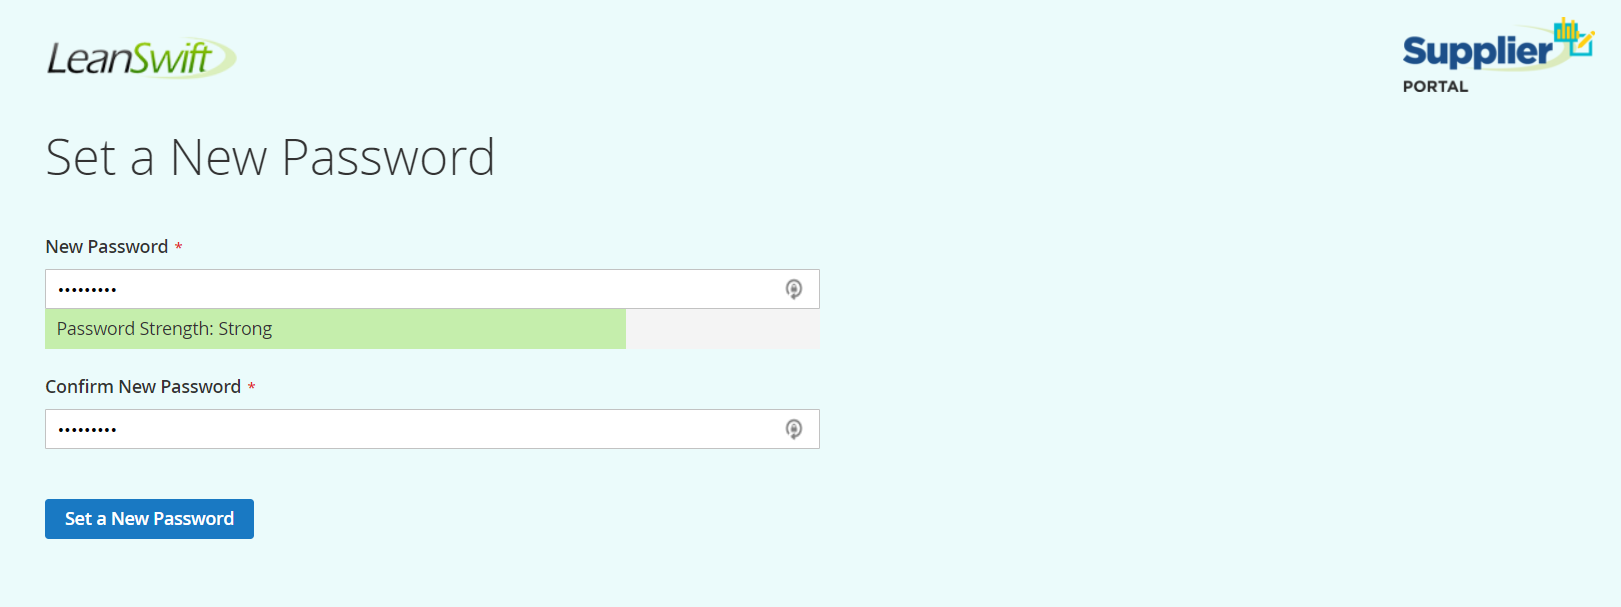
Enter Strong Password (combination of alphanumeric and special characters) and click Set a New Password.
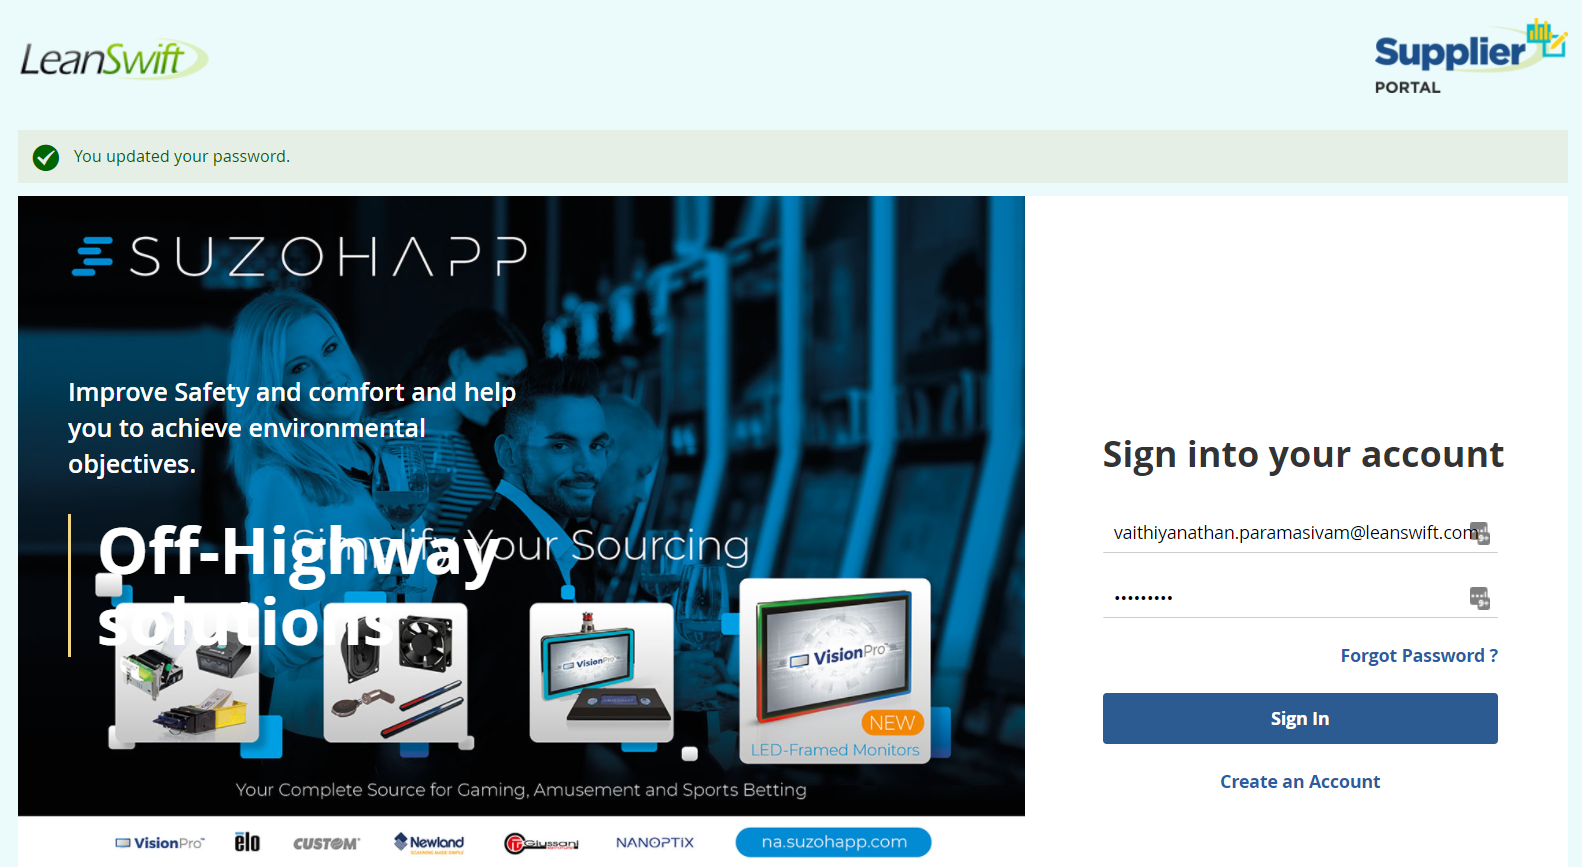
Page will be redirected to supplier user portal website based on website chosen to send invite with status as You updated your password. Enter your supplier mail id and password to Sign In
When supplier set password and signed in then status will change to **Customer Created Successfully ** in supplier invite list table.

Initially Supplier can view only My Information tab with form to be submitted with all required information as below.
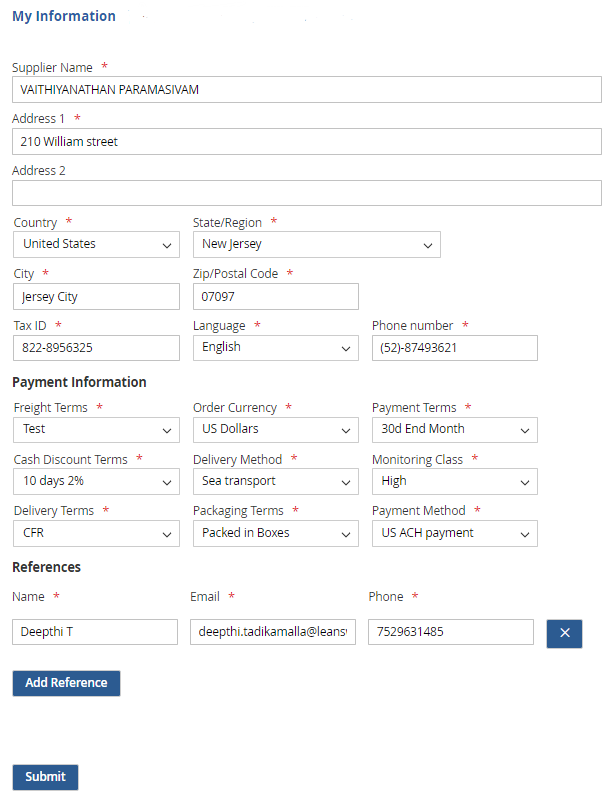
Freight Terms, Payment Terms, Cash Discount Terms, Delivery Method, Monitoring Class, Delivery Terms and Packaging Terms are language specific fields. Based on the language chosen, these filed values must be seleected.
You can add up to three references and they are optional.
Clicking on Submit button brings a confirm popup when you submit the information.

M3 Admin will get supplier onboarding task to review supplier information submitted and can add notes if any changes required.
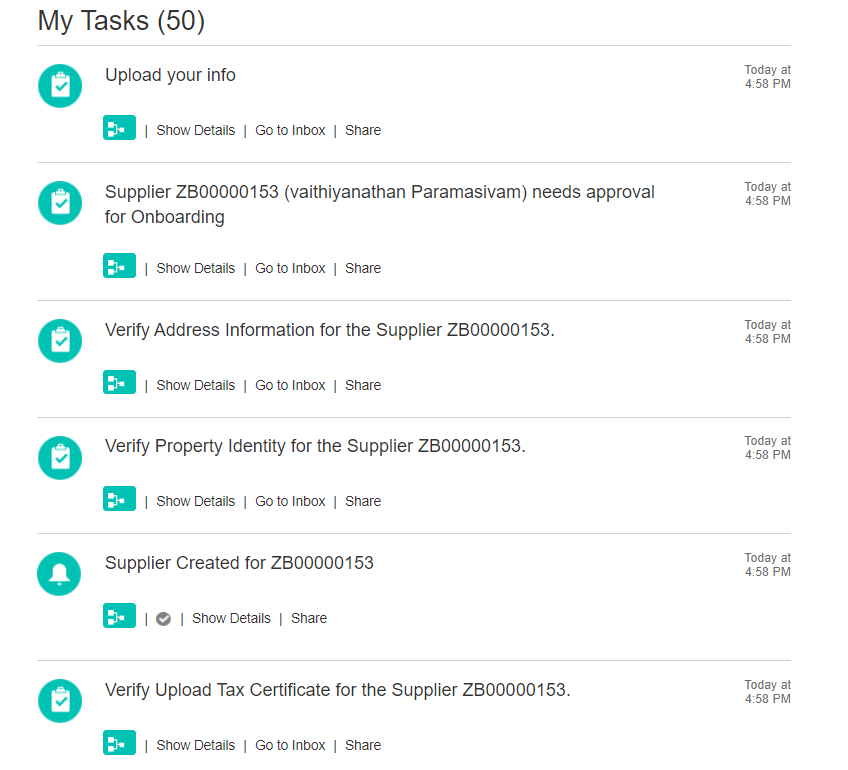


When M3 Admin approved Supplier Onboarding task, supplier status will be changed to Supplier Mapped to Customer status in Supplier Invite list table.

Supplier Onboarding Configuration
Navigate to LeanSwift->Supplier Portal->Settings and configure ION Mingle connection Url’s as below.

My Information form field values can be configured under Supplier Onboarding in Supplier Configuration settings.Fields can be configured at website level.
Navigate to LeanSwift->Supplier Portal->Settings and switch to Multi Website Scope configuration.


M3 Supplier Template - Existing supplier template from M3 can be configured with comma separated values.
M3 Supplier Prefix – New supplier ID will be created with configured prefix value
M3 Supplier number length - This field is dropdown list which contains values as 5,6,7,8. Based on chosen length, Supplier number is created exluding
Workflow Name – Give ION workflow Name used for supplier Onboarding
Fetch Configuration – This will fetch M3 Configuration fields with dropdown values.
Selected Dropdown values for M3 Language List, M3 Order Currency List, M3 Payment Terms, M3 Freight Terms, M3 Delivery Terms List, M3 Payment Method, M3 Packaging Terms List, M3 Monitoring Class List, M3 Delivery Method List and M3 Cash Discount Terms List will be prepopulated in My Information form as default values. These values can be changed by supplier before submitting.
M3 Payment Terms, M3 Freight Terms, M3 Delivery Terms List, M3 Packaging Terms List, M3 Monitoring Class List, M3 Delivery Method List and M3 Cash Discount Terms List are language specific fields. Based on the M3 Language selected, drop down list will be listed.
Allow to choose Payment terms - If Yes, then supplier can choose payment terms from the dropdown lisst in my information form. If No, then supplier template payment term will be selected as default in my information form.
Allow only UPPER CASE in Supplier Name - By default Yes is configured, Supplier Name will be accepted only in UPPER Case and if lower case is entered then it is changed to uppercase in My Information form.
Allow Special Character In Supplier Name - Based on the slection, special characters is allowed for supplier name in My Information form.
Tax ID Maximum Length - Based on this configuration the length of the Tax ID is defined. The maximum length is 15 and the minimum length is 11.
My Information Form Success Message - Configured message will be displayed when supplier submits my information form.
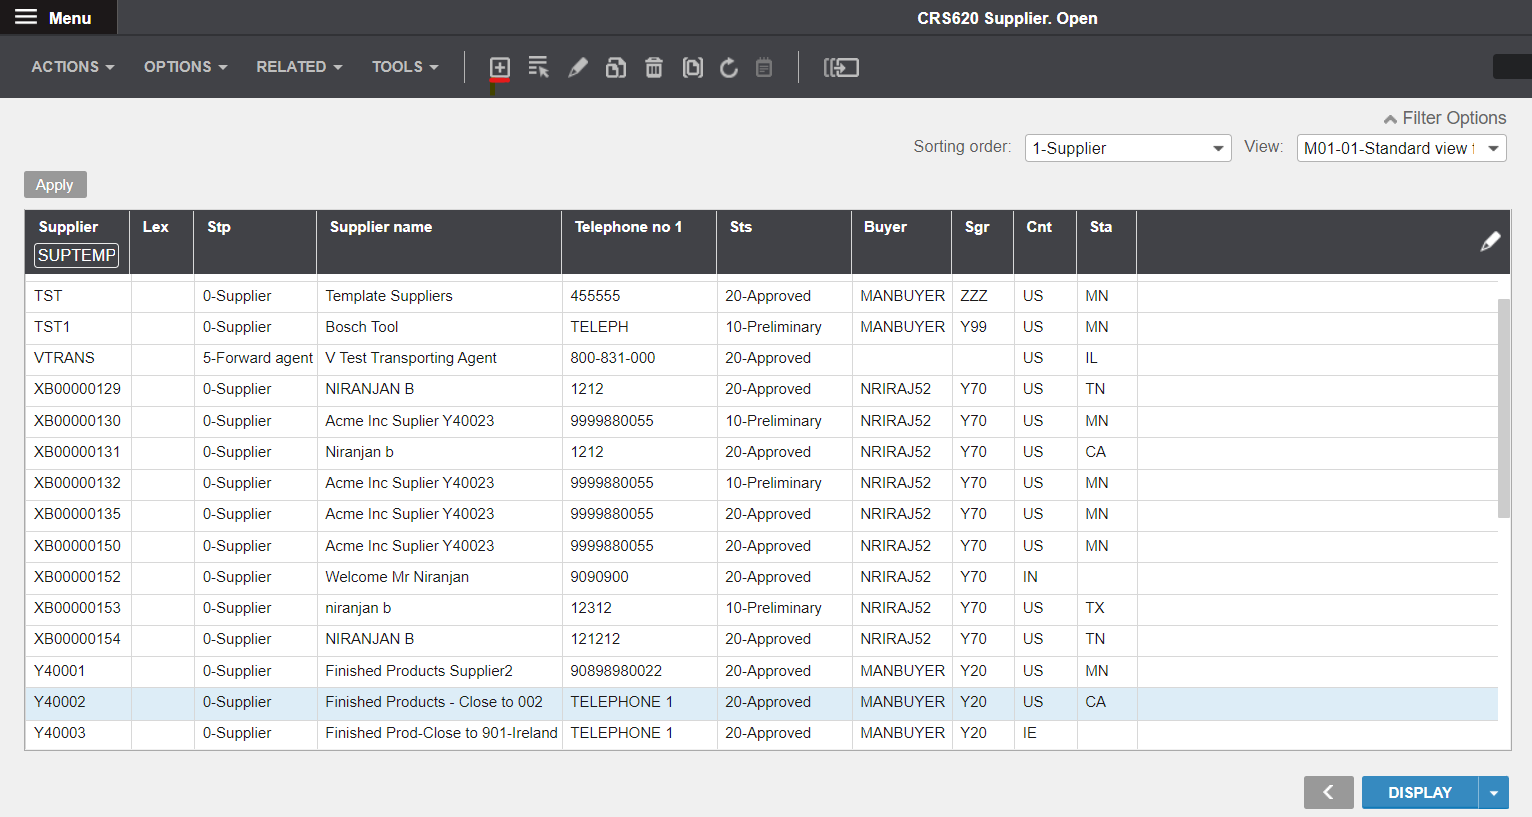
Supplier Template can be created in M3 using program CRS620 with status ‘05-Suppl Template’.
Navigate to CRS620, enter supplier name, and click create button. Fill all required information and status should be in ’05-Suppl Template’.

My Documents Task
Supplier can view My Documents tab after submitting the onboarding information.
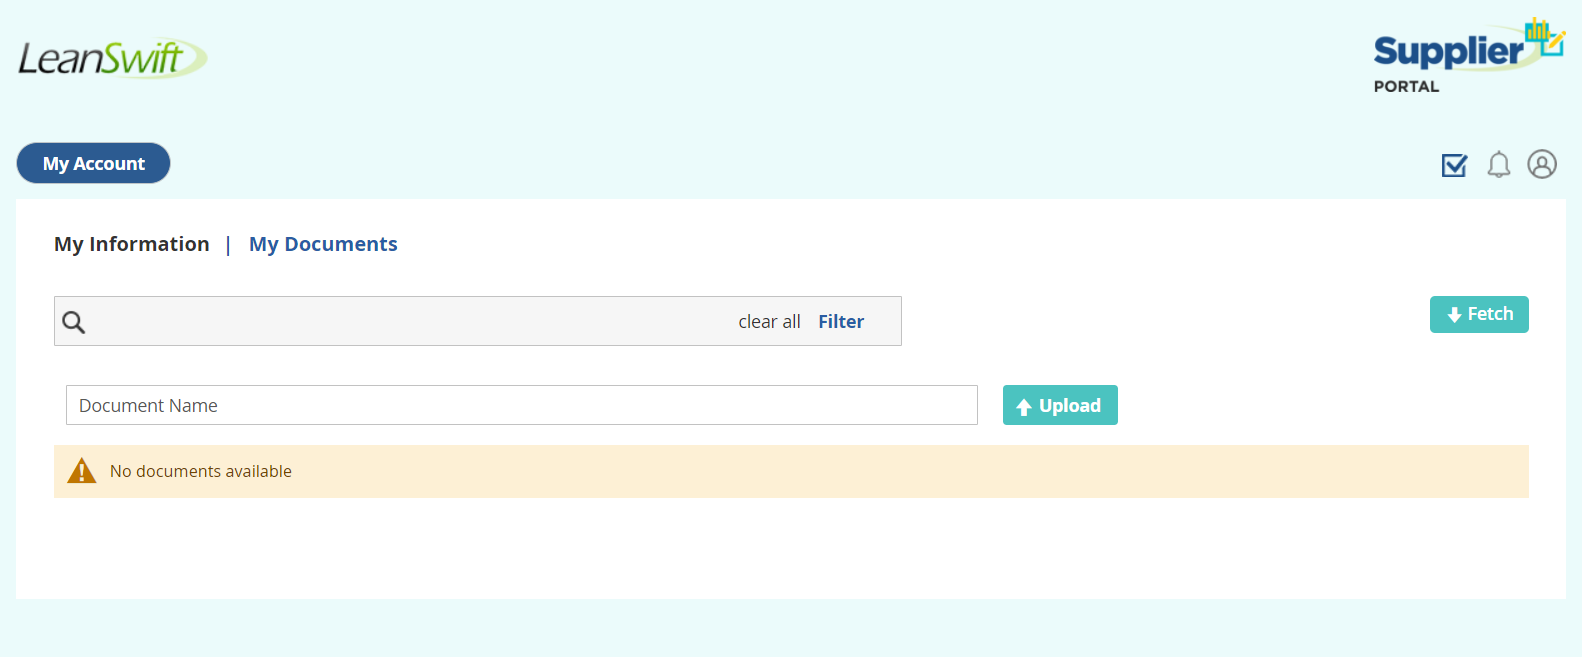
Task to be completed will be triggered based on the workflow configuration and this can be viewed by clicking checkbox icon next to bell icon notification.
The list of tasks available is based on the workflow created in ION.
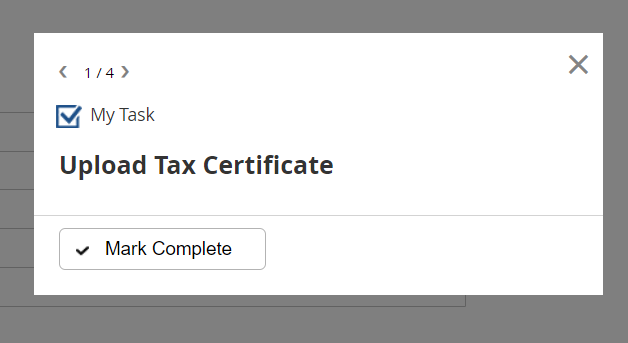
Upload Documents for assigned tasks with document name and click Mark Complete for the respective task.

Approval Task will be generated in M3 for document uploaded by supplier.
M3 Admin will review all documents tasks submitted and can add notes if any changes required.


Bell Icon Notification will be triggered in portal for Task notes updated in M3 and cron is configured to get task notes from M3.
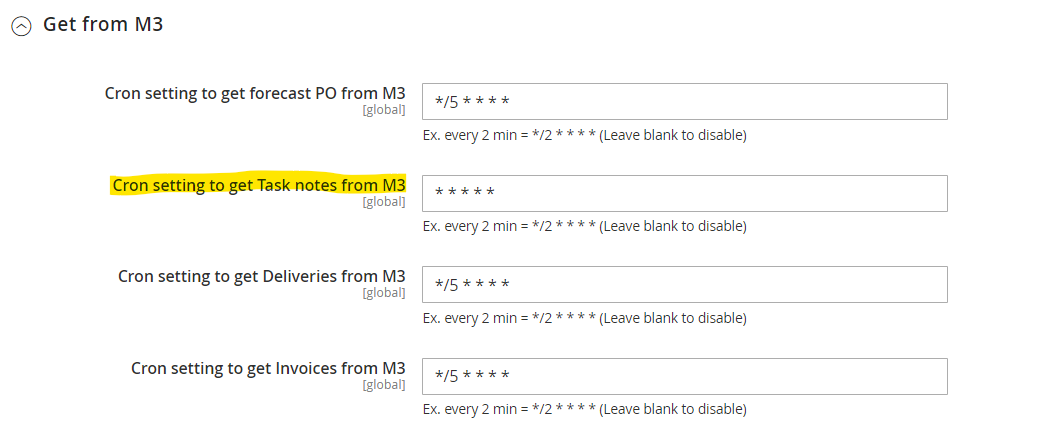

As and when tasks are approved in M3, the task will also be removed for the user in frontend portal.
Once all tasks are approved at M3, supplier will get access to all supplier portal features and notification will be triggered as below.

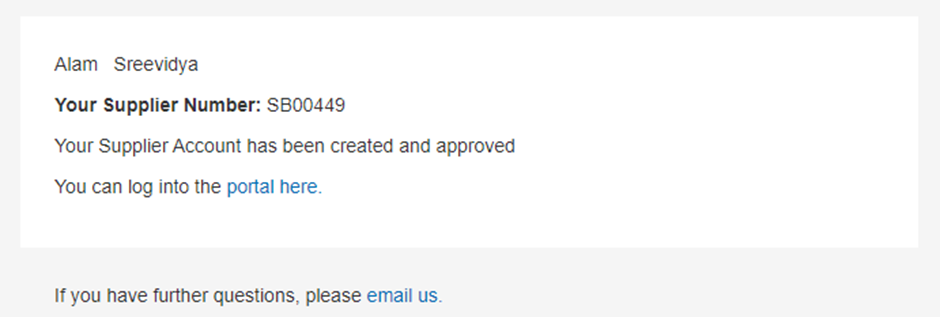
Confirmation email will be sent to Supplier once onboarded to portal.
Now that supplier account is activated, the new supplier can perform all the functionalities available in the supplier portal.
